Woodworker's Journal 2004 Spring, страница 59
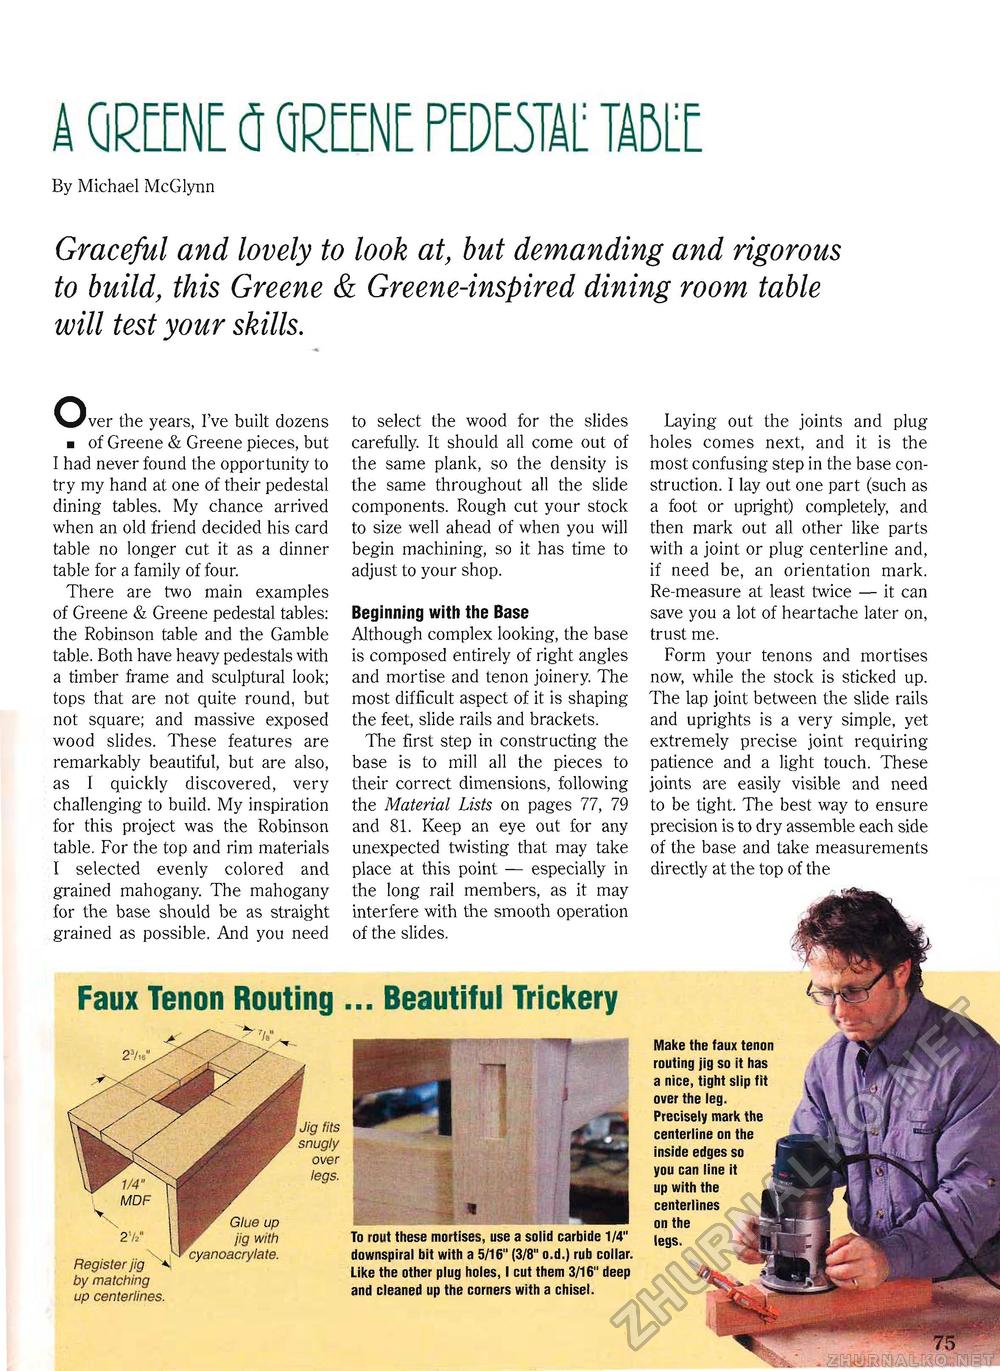
A QRK <J QRKNE ?mW TABUBy Michael McGlynn Graceful and, lovely to look at, but demanding and rigorous to build, this Greene & Greene-inspired dining room table will test your skills. ^^ver the years, I've built dozens ■ of Greene & Greene pieces, but I had never found the opportunity to try my hand at one of their pedestal dining tables. My chance arrived when an old friend decided his card table no longer cut it as a dinner table for a family of four. There are two main examples of Greene & Greene pedestal tables: the Robinson table and the Gamble table. Both have heavy pedestals with a timber frame and sculptural look; tops that are not quite round, but not square; and massive exposed wood slides. These features are remarkably beautiful, but are also, as I quickly discovered, very challenging to build. My inspiration for this project was the Robinson table. For the top and rim materials I selected evenly colored and grained mahogany. The mahogany for the base should be as straight grained as possible. And you need to select the wood for the slides carefully. It should all come out of the same plank, so the density is the same throughout all the slide components. Rough cut your stock to size well ahead of when you will begin machining, so it has time to adjust to your shop. Beginning with the Base Although complex looking, the base is composed entirely of right angles and mortise and tenon joinery. The most difficult aspect of it is shaping the feet, slide rails and brackets. The first step in constructing the base is to mill all the pieces to their correct dimensions, following the Material Lists on pages 77, 79 and 81. Keep an eye out for any unexpected twisting that may take place at this point — especially in the long rail members, as it may interfere with the smooth operation of the slides. Faux Tenon Routing ... Beautiful Trickery To rout these mortises, use a solid carbide 1/4" downspiral bit with a 5/16" (3/8" o.d.) rub collar. Like the other plug holes, I cut them 3/16" deep and cleaned up the corners with a chisel. Jig fits snugly over legs. 2'k" Register jig by matching up centerlines. Glue up jig with Laying out the joints and plug holes comes next, and it is the most confusing step in the base construction. I lay out one part (such as a foot or upright) completely, and then mark out all other like parts with a joint or plug centerline and, if need be, an orientation mark. Re-measure at least twice — it can save you a lot of heartache later on, trust me. Form your tenons and mortises now, while the stock is sticked up. The lap joint between the slide rails and uprights is a very simple, yet extremely precise joint requiring patience and a light touch. These joints are easily visible and need to be tight. The best way to ensure precision is to dry assemble each side of the base and take measurements directly at the top of the Make the faux tenon routing jig so it has a nice, tight slip fit over the leg. Precisely mark the centerline on the inside edges so you can line it up with the centerlines on the legs. |


